Do you dream of living in a home that’s relaxed, inviting and beautiful? Are you getting ready to move and want to get top dollar for your home?
Have you wondered how decorators and stagers put together such amazing spaces? Or how certain people can make their home look fantastic no matter where they live?
It might seem that they have more money to work with. But money has little to do with it. It’s always about style. We crave homes that are comfortable and stylishly in tune with our personalities. We want to feel “at home” when we are home.
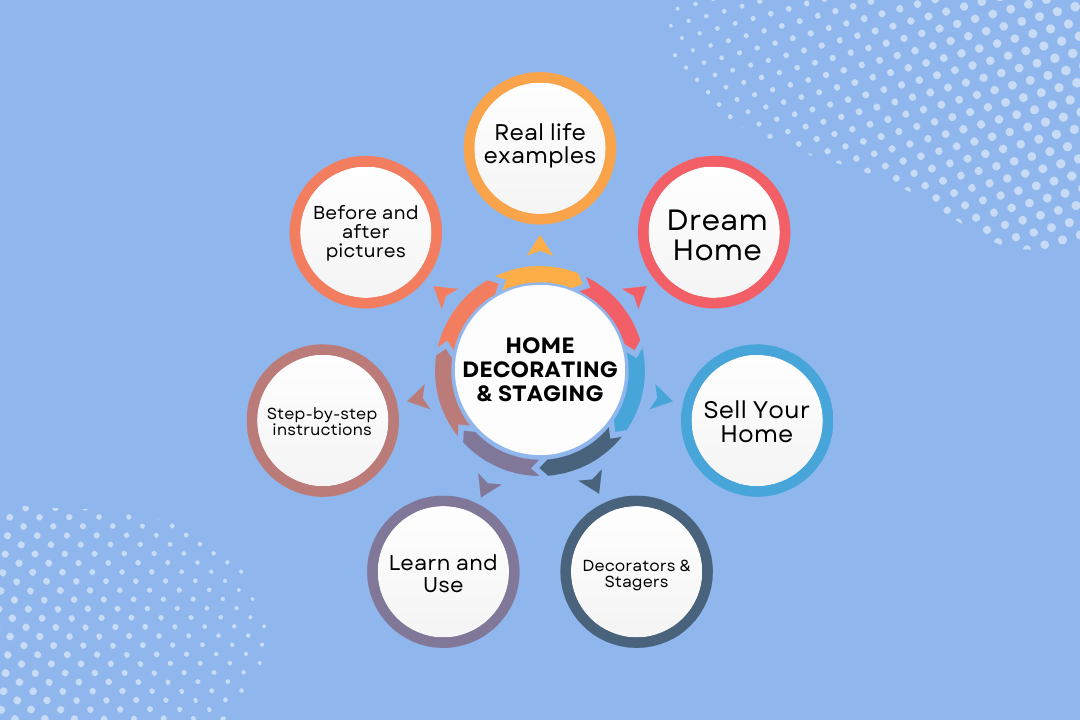
Home-Decorating-and-Staging, written by a professional home stager and decorator shares our industry secrets and shows you how to apply them with:
Real life examples
Before and after pictures
Step-by-step instructions
Get the look you want without the struggle of trying to figure it out on your own.
Stagers Know How to Captivate a Buyer’s Heart
A professionally staged home gives the seller a big advantage over the competition. When a buyer falls in love with a home, they get excited. They hurry to buy it before someone else does. Get them excited about your home and you’ll make more money.
Learn and Use Our Secrets
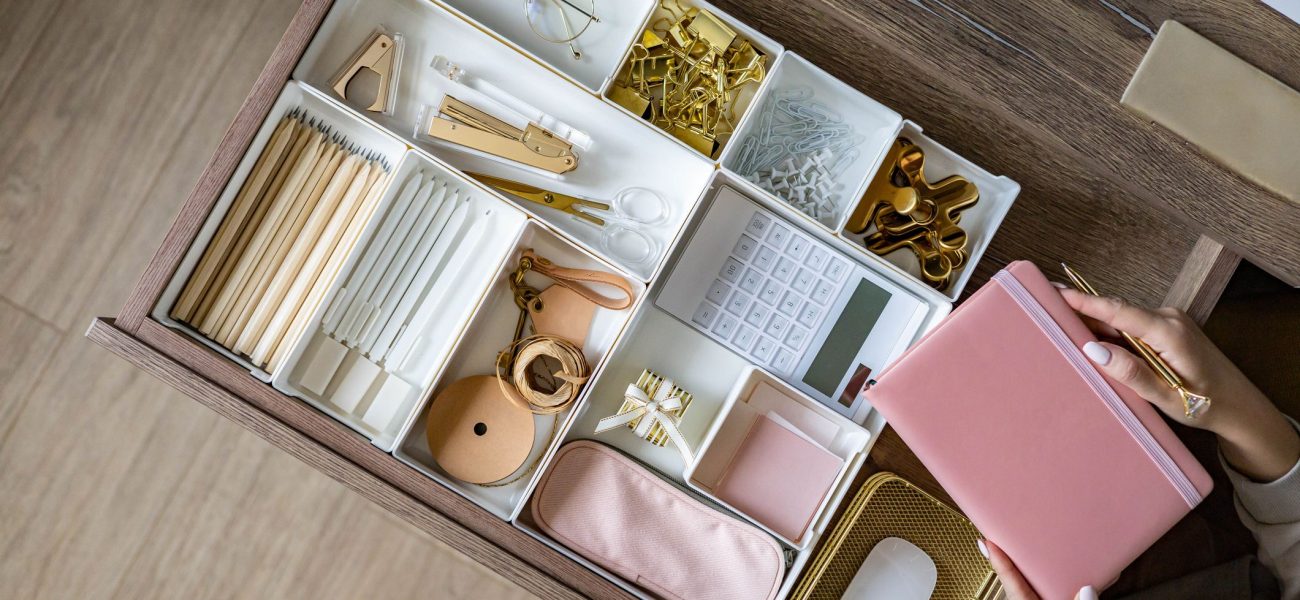
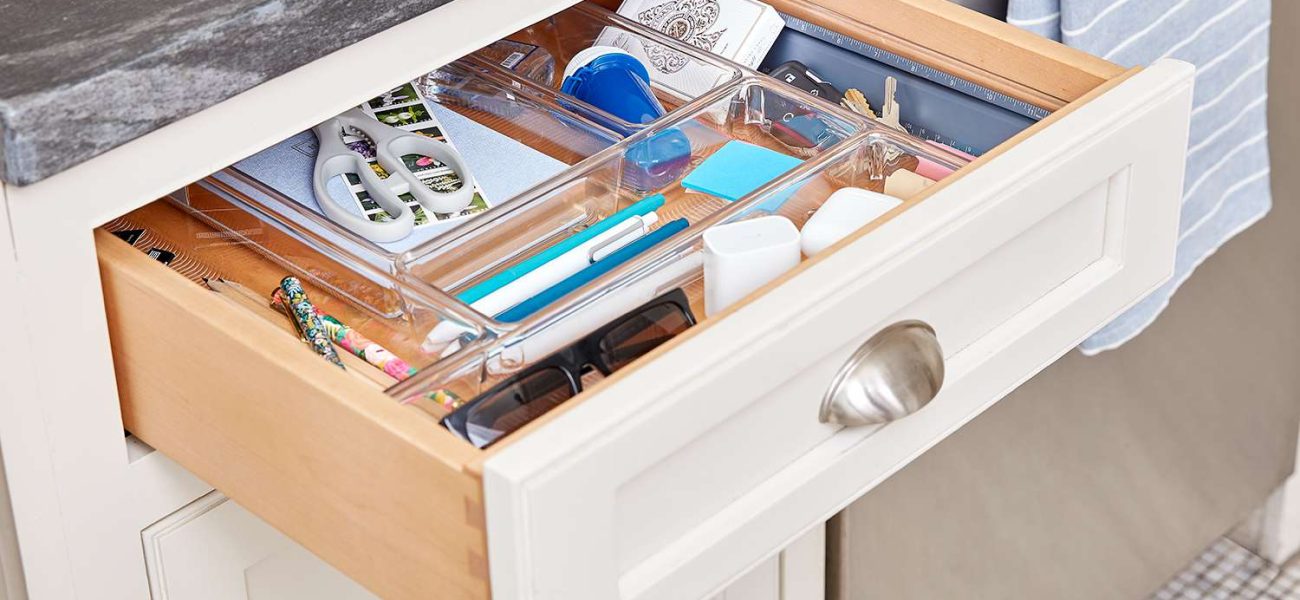
It’s easier than you think to turn your home into a dream home. There are tricks of the trade and a formula for everything. Once you know the formulas, you can easily create a beautiful room every time.
Discover How Decorators and Stagers
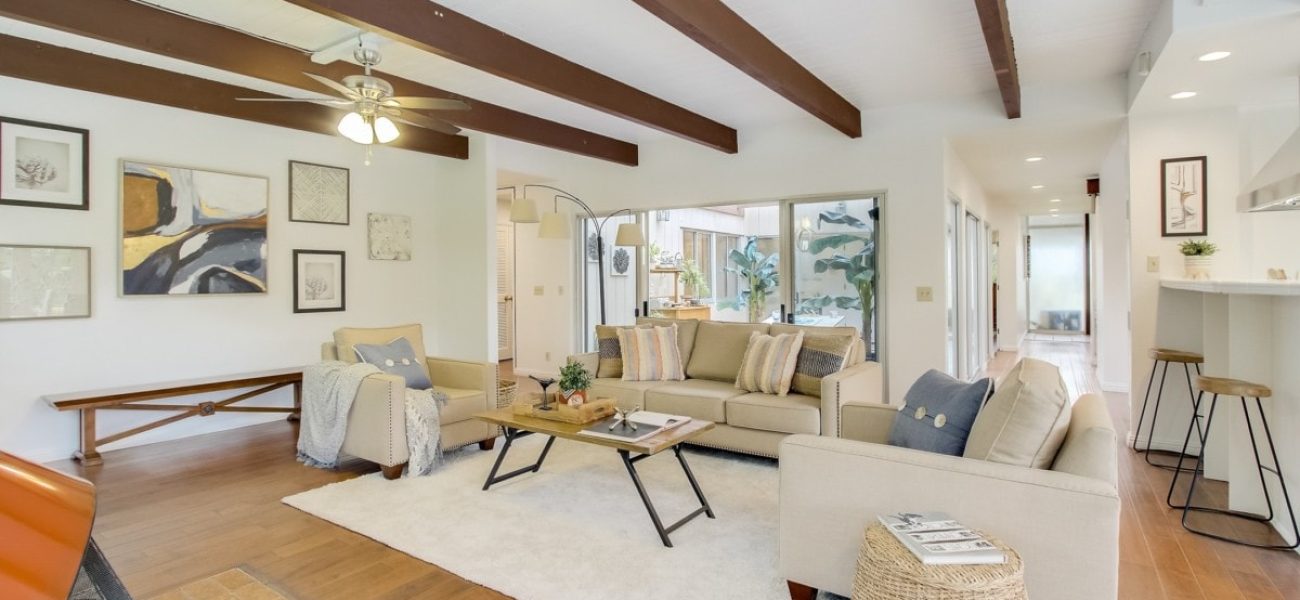
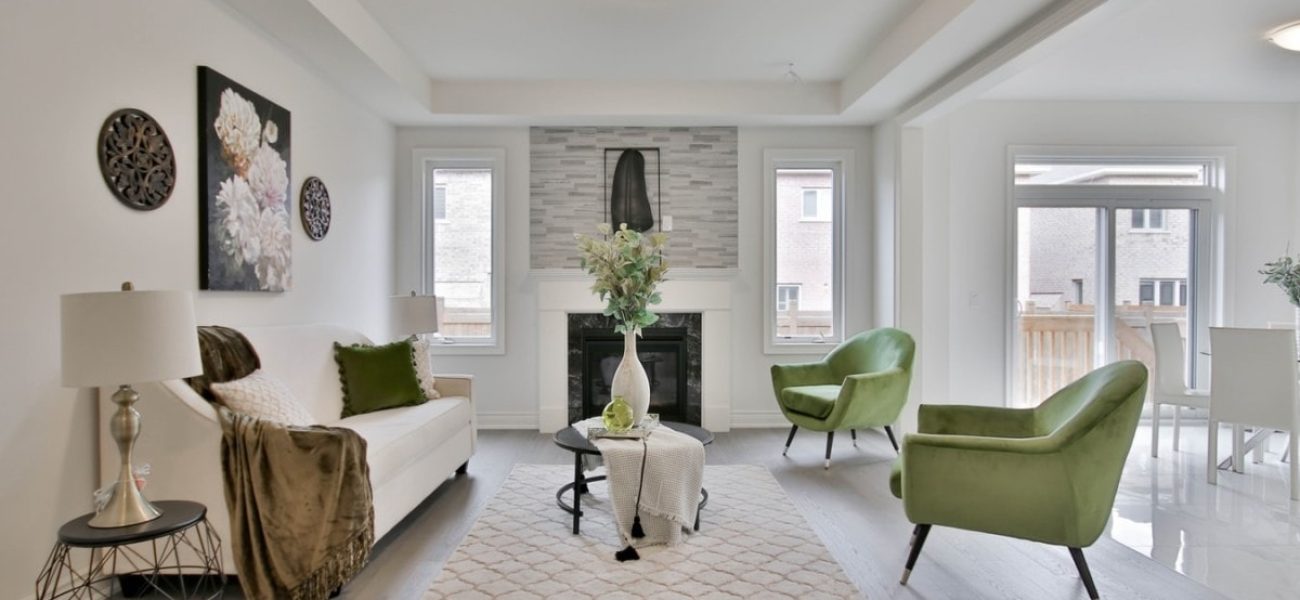
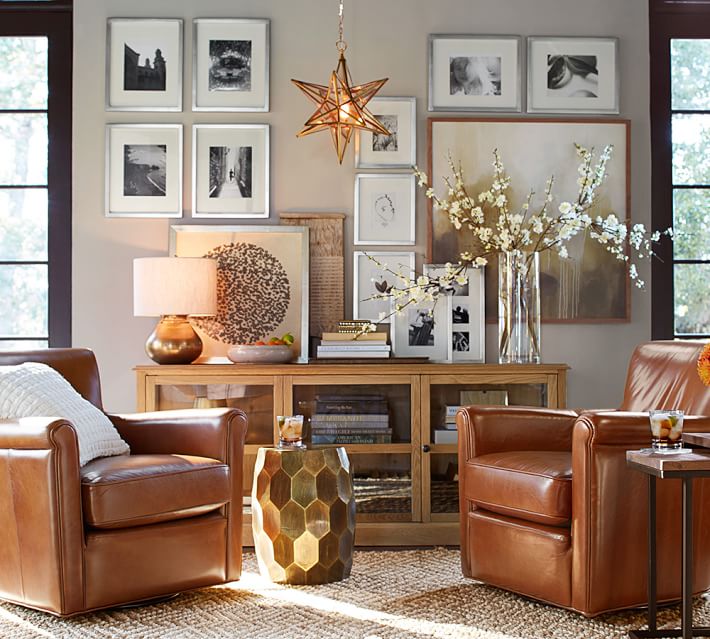
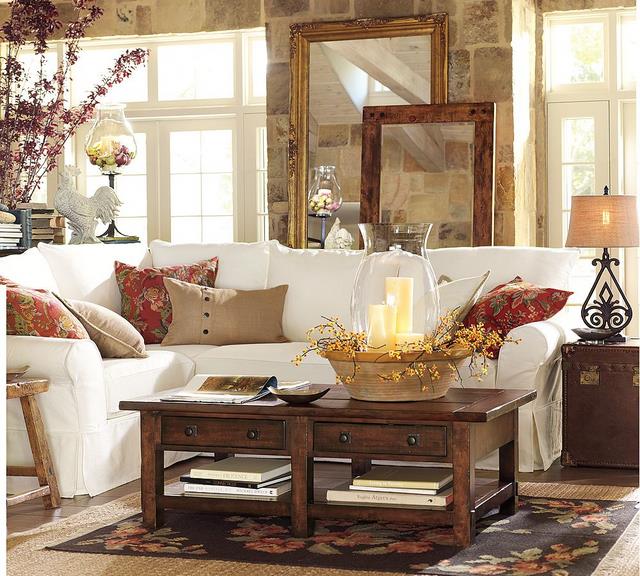
Create an inviting bedroom
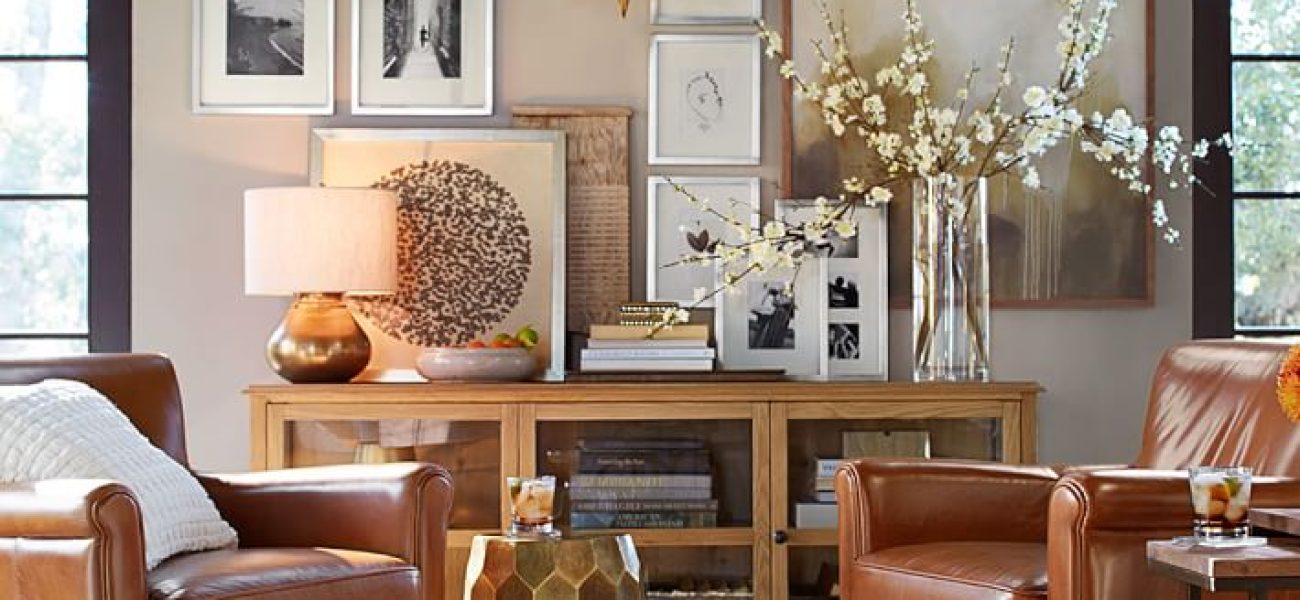
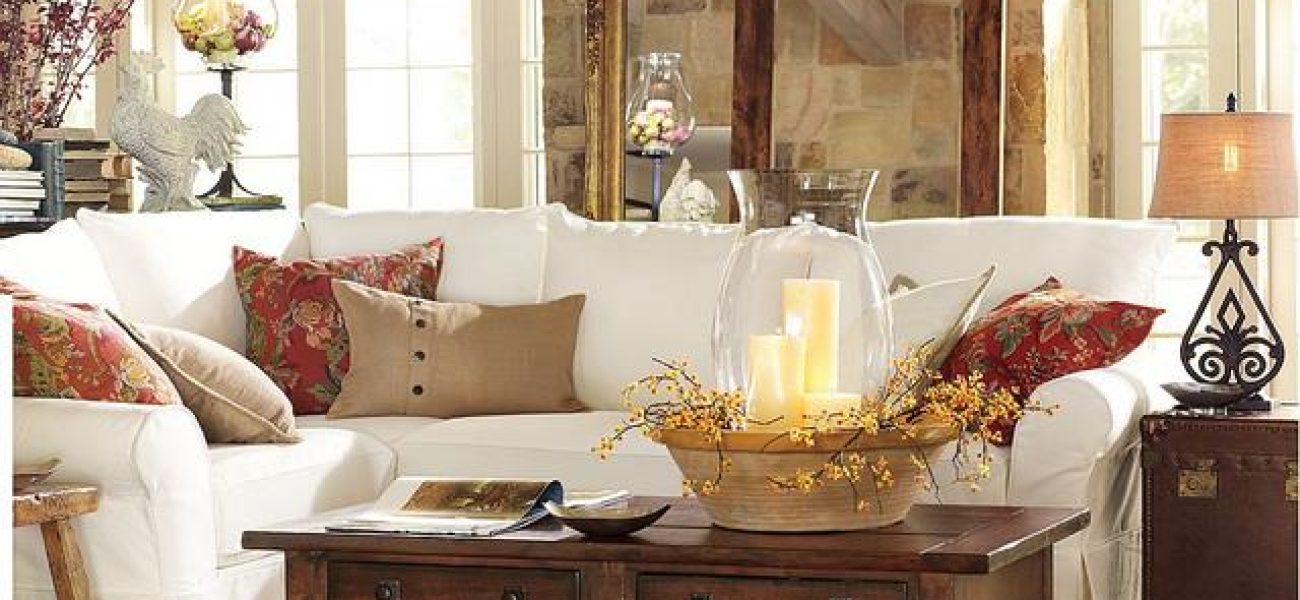
Add drama with art and mirrors
Accent with plants and greenery
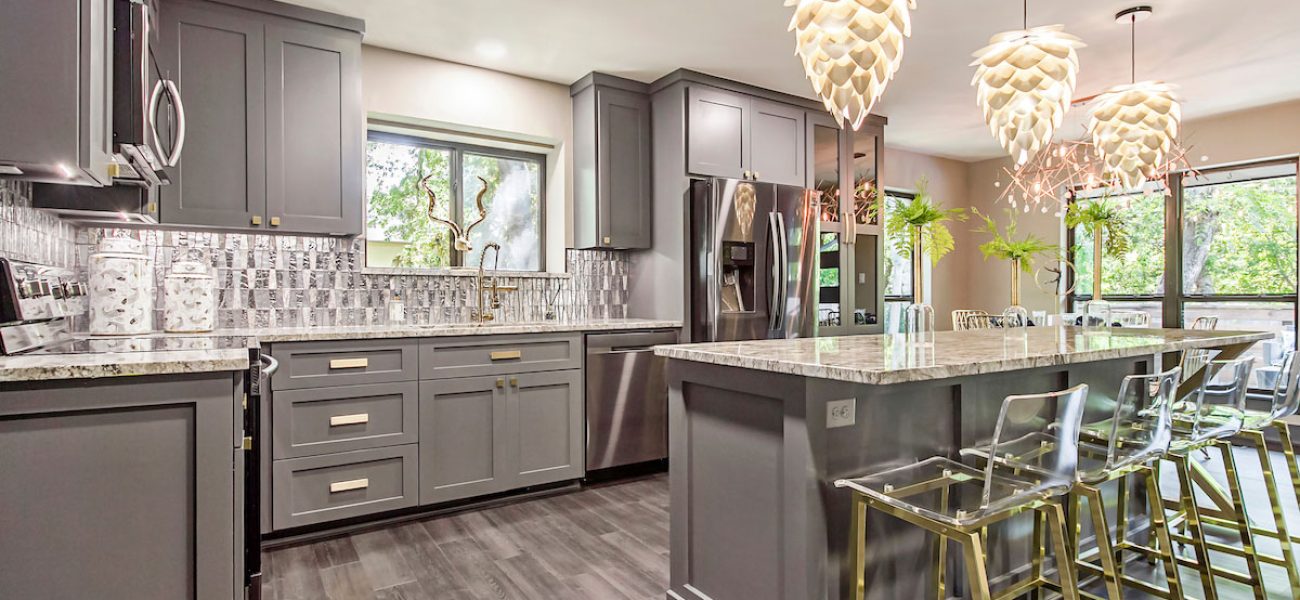
Choose model home paint colors
Find the perfect furniture arrangement
Design an interesting coffee table display
Fix a room that feels “off”
Learn How to Sell Your Home for More Money
Understand the difference between decorating and staging
Resolve conflict about moving
Deliver the buyer’s dream
Make simple repairs worth big money
Find the right realtor
Reduce the stress of being on the market
Turn Your Home into a Dream Home
Simple step-by-step instructions
Lots of Before and After pictures
Plenty of budget friendly ideas
Home Decorating and Staging
Discover how little changes can make a big difference.
See how easy it is to transform your home using what you already own.
Experience how wonderful it is to live in a home you love.